Motherboard

3. Power Supply

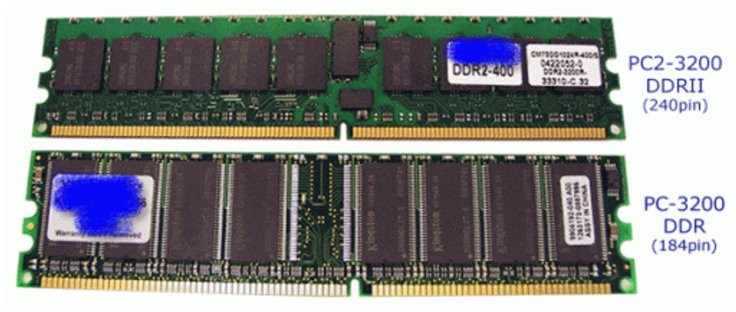
5. Random Access Memory (RAM)RAM is temporary memory. Whenever you open up a Microsoft Word window, your computer places it in RAM, and when you close the window, that RAM is freed. Since RAM is volatile, its contents are lost if the machine loses power. This is why you lose a Word document when the power goes out if you didn’t save it.The more RAM you have, the more programs you can run at once. A common cause of slow computers is a lack of sufficient RAM.

6. Hard Disk Drive (HDD) or Solid State DriveSince RAM is temporary, your computer needs a place to store data permanently. That’s where the hard drive comes in. The traditional hard drive consists of several spinning platters with an arm that physically writes data to the disk. However, these drives are slow and are starting to be replaced by the faster solid-state drives.

7. The CPU CoolerThis is usually a heatsink with a fan on it, however it can also sometimes be a watercooling system. Its role is to dissipate heat from the CPU into the air.

Graphics Card or Video CardThis is different from a GPU. The GPU (Graphics Processing Unit) is the chip that handles graphics processing in a particular computer. The GPU is surface mounted to the Graphics Card, but the graphics card also has power delivery circuitry, cooling, and video output ports.


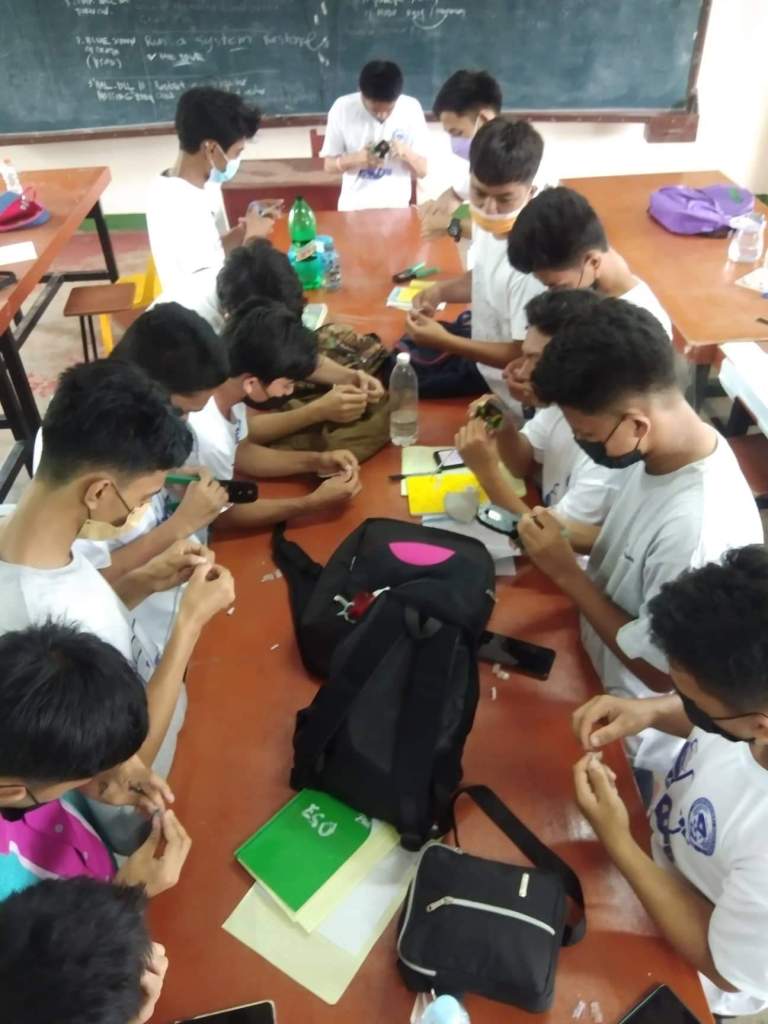
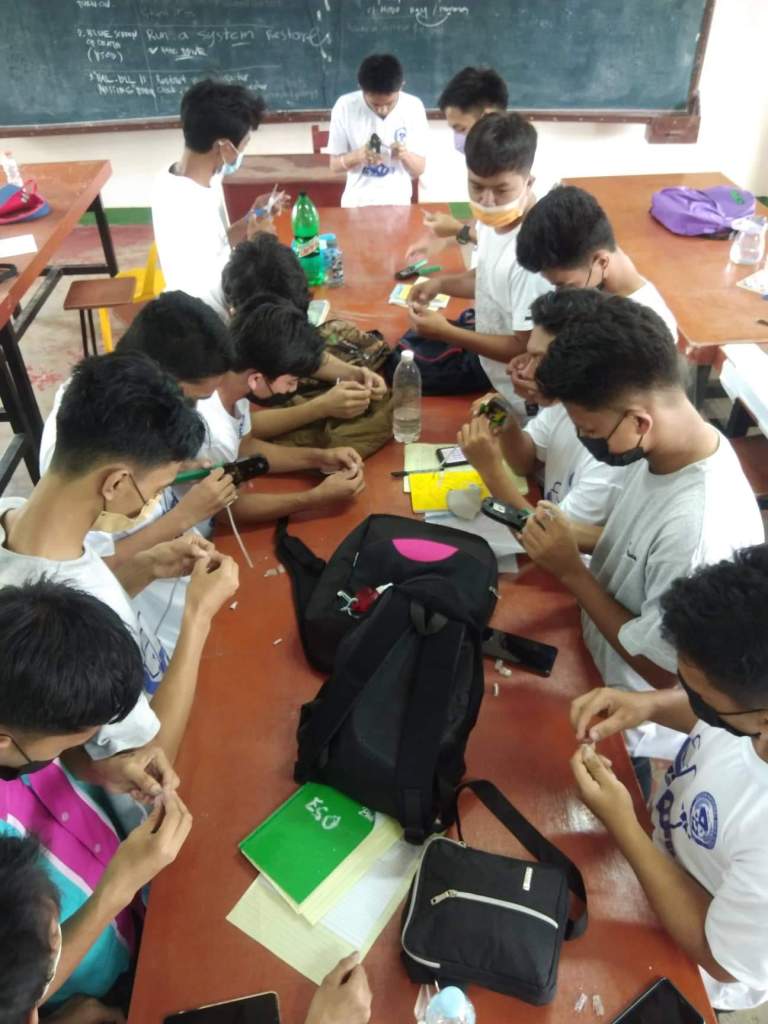
Strip the cable back 1 inch (25 mm) from the end. Insert the cable into the stripper section of the tool and squeeze it tight. Then, rotate the crimping tool around the cable in a smooth and even motion to create a clean cut. Keep the tool clamped and pull away towards the end of the wire to remove the sheathing.[1]The stripping section is a round hole near the handle of the tool.The sheathing should come off cleanly, leaving the wires exposed.

Untwist and straighten the wires inside of the cable. Inside of the cable you’ll see a bunch of smaller wires twisted together. Separate the twisted wires and straighten them out so they’re easier to sort into the right order.[2]Cut off the small plastic wire separator or core so it’s out of the way.Don’t cut off or remove any of the wires or you won’t be able to crimp them into the connector.

Arrange the wires into the right order. Use your fingers to put the wires in the correct order so they can be properly crimped. The proper sequence is as follows from left to right: Orange/White, Orange, Green/White, Blue, Blue/White, Green, Brown/White, Brown.[3]There are 8 wires in total that need to be arranged in the right sequence.Note that the wires labeled Orange/White or Brown/White indicate the small wires that have 2 colors.

Cut the wires into an even line 1⁄2 inch (13 mm) from sheathing. Hold the wires with your thumb and index finger to keep them in order. Then, use the cutting section of the crimping tool to cut them into an even line.[4]The cutting section of the tool will resemble wire cutters.The wires must be in an even line to be crimped into the RJ-45 connector properly. If you cut them in an uneven line, move further down the wires and cut them again.

Insert the wires into the RJ-45 connector. Hold the RJ-45 connector so the clip is on the underside and the small metal pins are facing up. Insert the cable into the connector so that each of the small wires fits into the small grooves in the connector.[5]The sheathing of the cable should fit just inside of the connector so it’s past the base.If any of the small wires bend or don’t fit into a groove correctly, take the cable out and straighten the wires with your fingers before trying again.The wires must be inserted in the correct order and each wire must fit into a groove before you crimp the connector.

Remove the cable from the tool and check that all of the pins are down. Take the connector out of the tool and look at the pins to see that they’re all pushed down in an even line. Lightly tug at the connector to make sure it’s attached to the cable.If any of the pins aren’t pushed down, put the wire back into the crimping tool and crimp it again.

In a peer-to-peer network, computers on the network are equal, with each workstation providing access to resources and data. This is a simple type of network where computers are able to communicate with one another and share what is on or attached to their computer with other.

To backup your files using an external hard drive, you typically connect the drive to your computer or laptop with a USB cable. Once connected, you can choose individual files or folders to copy onto the external hard drive. In the event you lose a file or a folder, you can retrieve copies from the external hard drive.